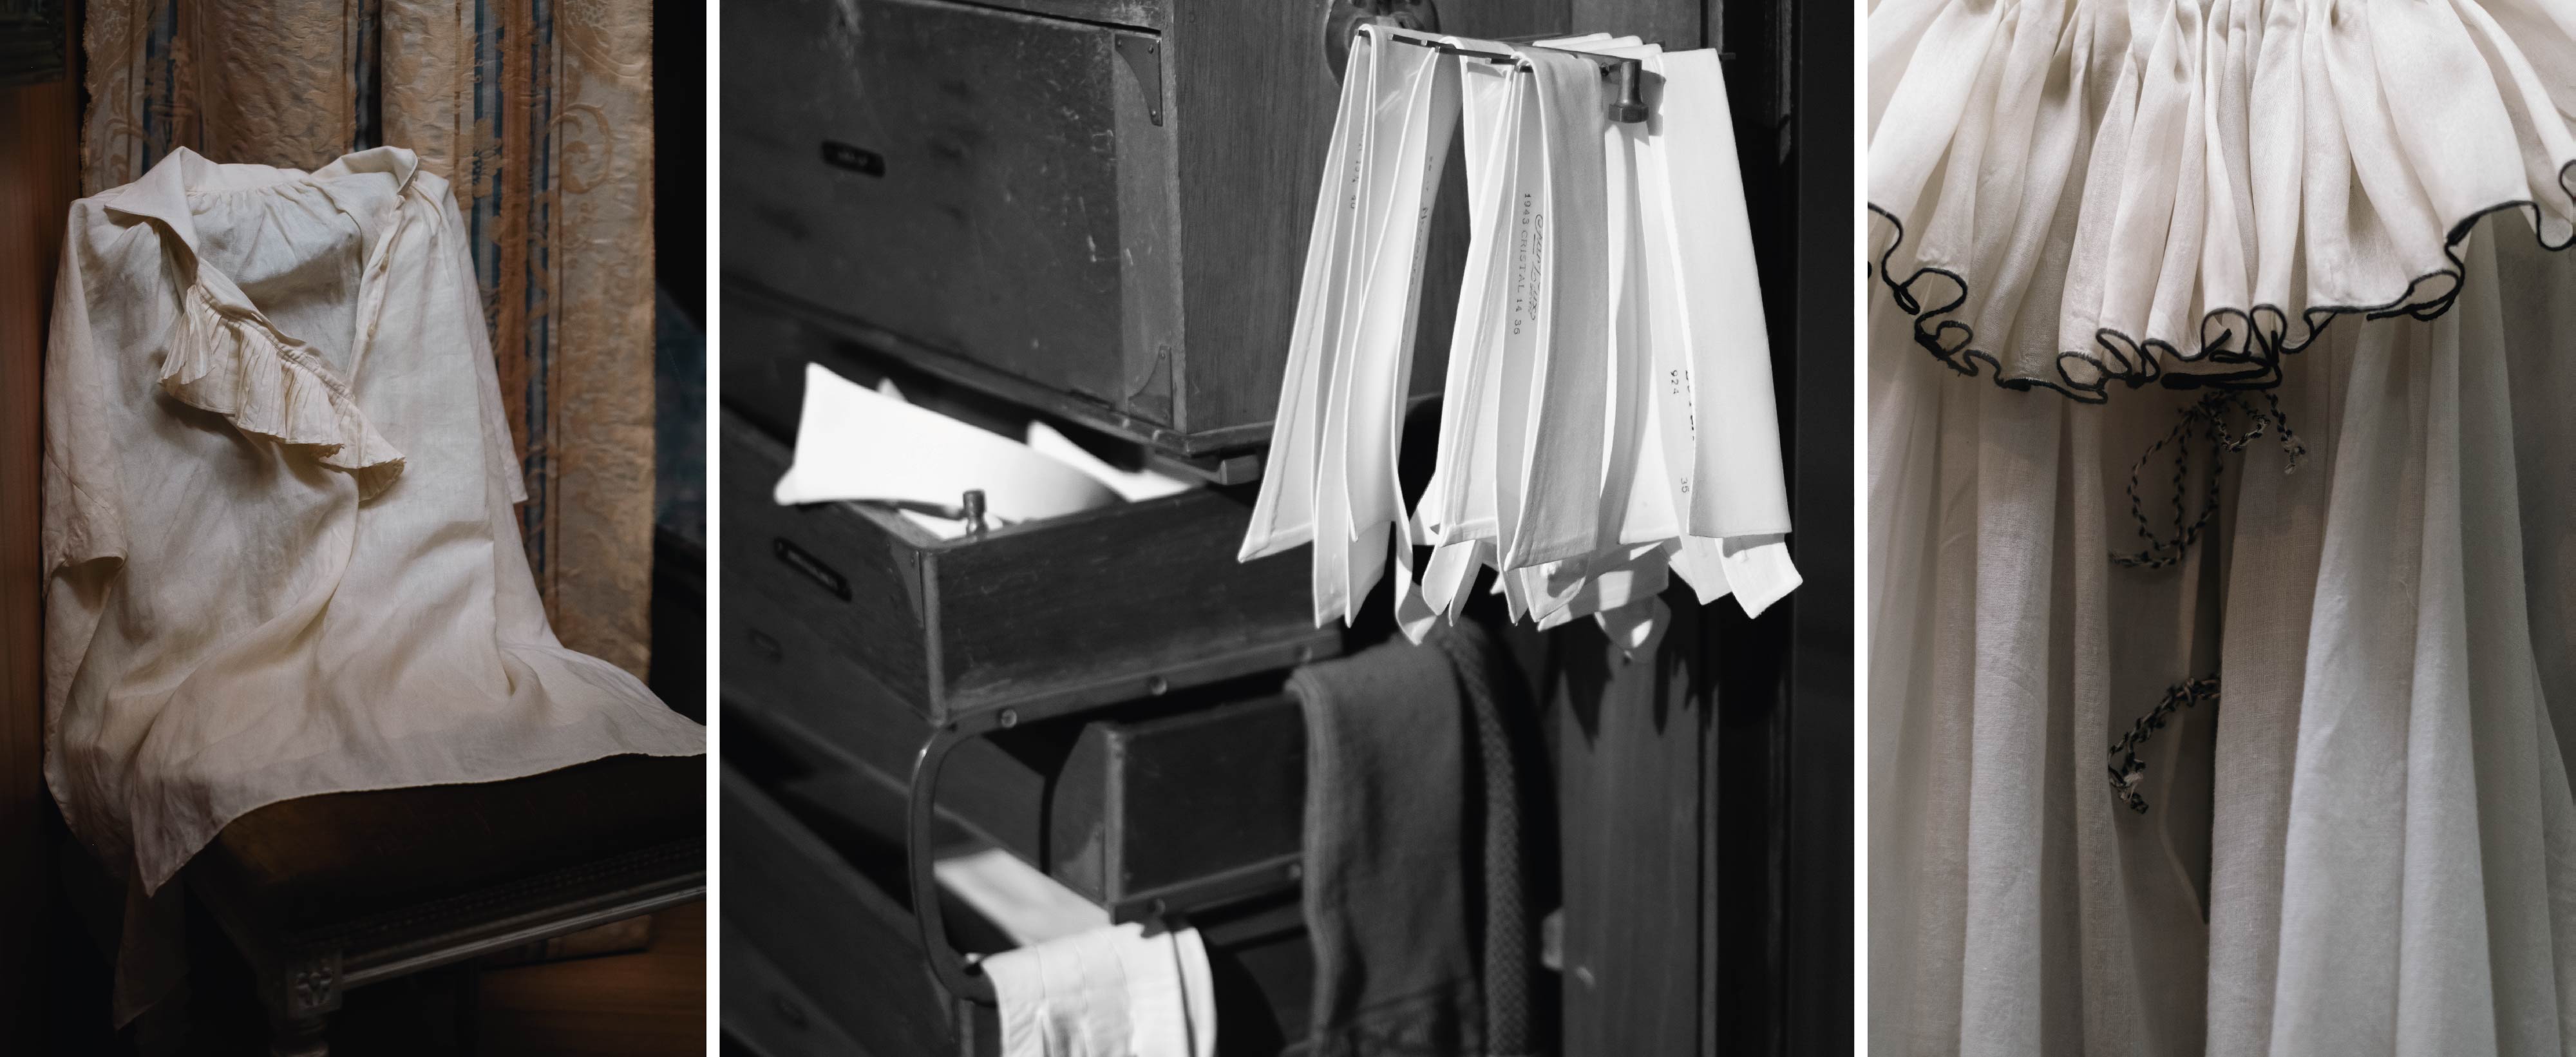
The Key Steps of a traditional shirt-making

The pattern making for a shirt is often done for series production but can also be customized to fit an individual’s measurements. Patterns are cut out of cardboard or wood to be positioned on the fabric.

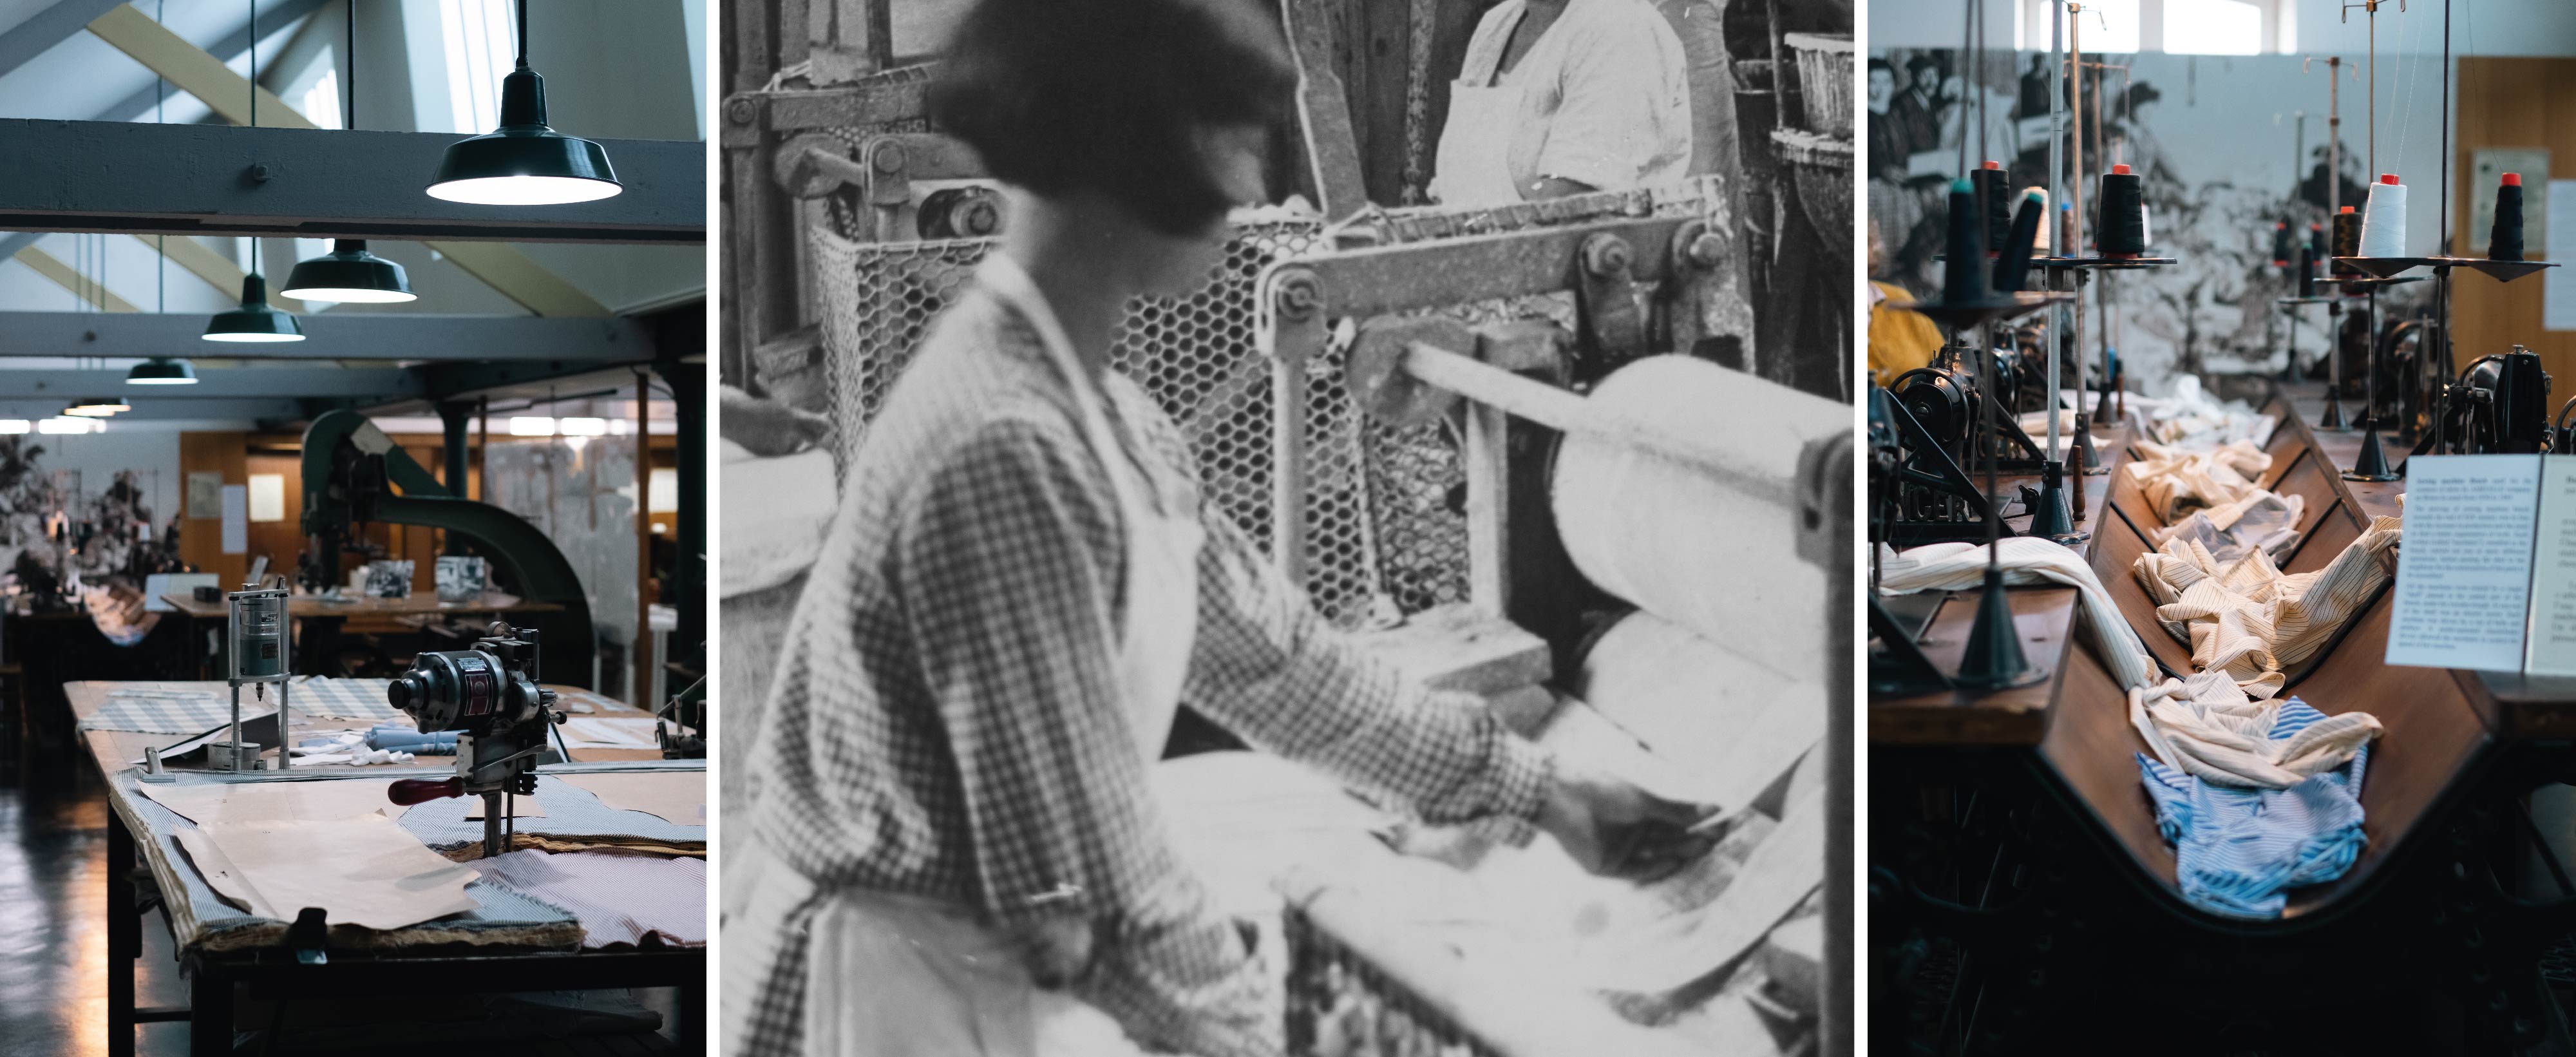
Often entrusted to men in the past, this step involves cutting the fabric into the various pieces that will make up the shirt: collar, cuffs, sleeves, back, and front. The patterns serve as guides to cut the fabric with precision. To save time and reduce material waste, several layers of fabric are stacked and cut simultaneously using scissors or specific tools.

The different parts of the shirt are sewn together using a sewing machine. The sewing machine, a French invention by Barthélemy Thimonnier and Auguste Ferrand in 1830, was later improved by Walter Hunt (American), who built the first lockstitch machine, and Joseph Madersperger (Austrian), who created a two-needle sewing machine in 1839. Workers were paid by the dozen shirts produced. The time to make a shirt has varied widely depending on the era and workshop. For example, in the highly mechanized 1980s, it took around 12 minutes to produce a shirt.
By the late 19th century, assembly line sewing was introduced. Each worker (mechanic) would assemble one or more parts of the shirt before passing it to the next worker for the following step.

A special machine is used to make shirt buttonholes with impeccable finishes. Zigzag stitching reinforces the fabric, and a thin blade is used to create the opening that will hold the button.

Collar presses are machines used in shirt making to give the collar its final shape and ensure rigidity. The machine applies a combination of heat and pressure to set the shape.

Washing ensures the garment’s durability and comfort, while starching enhances its aesthetics and facilitates future ironing. Starch has been used since the 17th century to give collars, cuffs, and plackets structure and stiffness.
The first irons appeared in China and later in Europe in the 15th century. The first electric irons were introduced in 1882.

Shirts are carefully folded using a template, and a small insert is placed in the collar for a uniform presentation.


