How to iron a shirt?
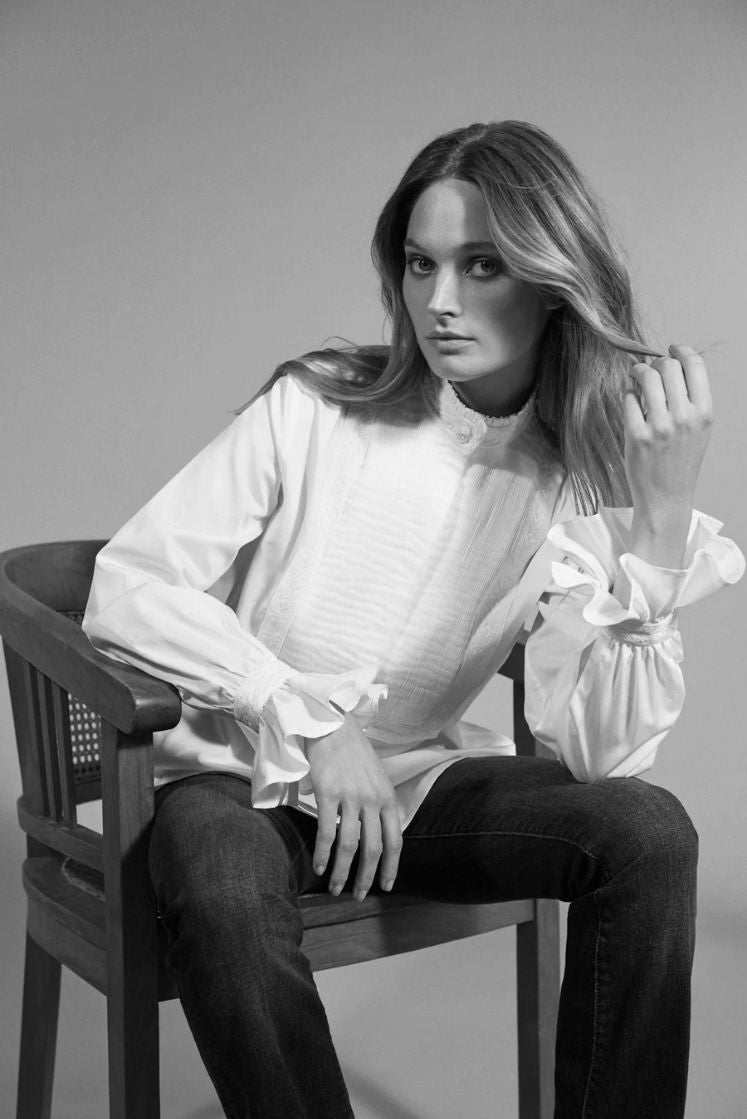
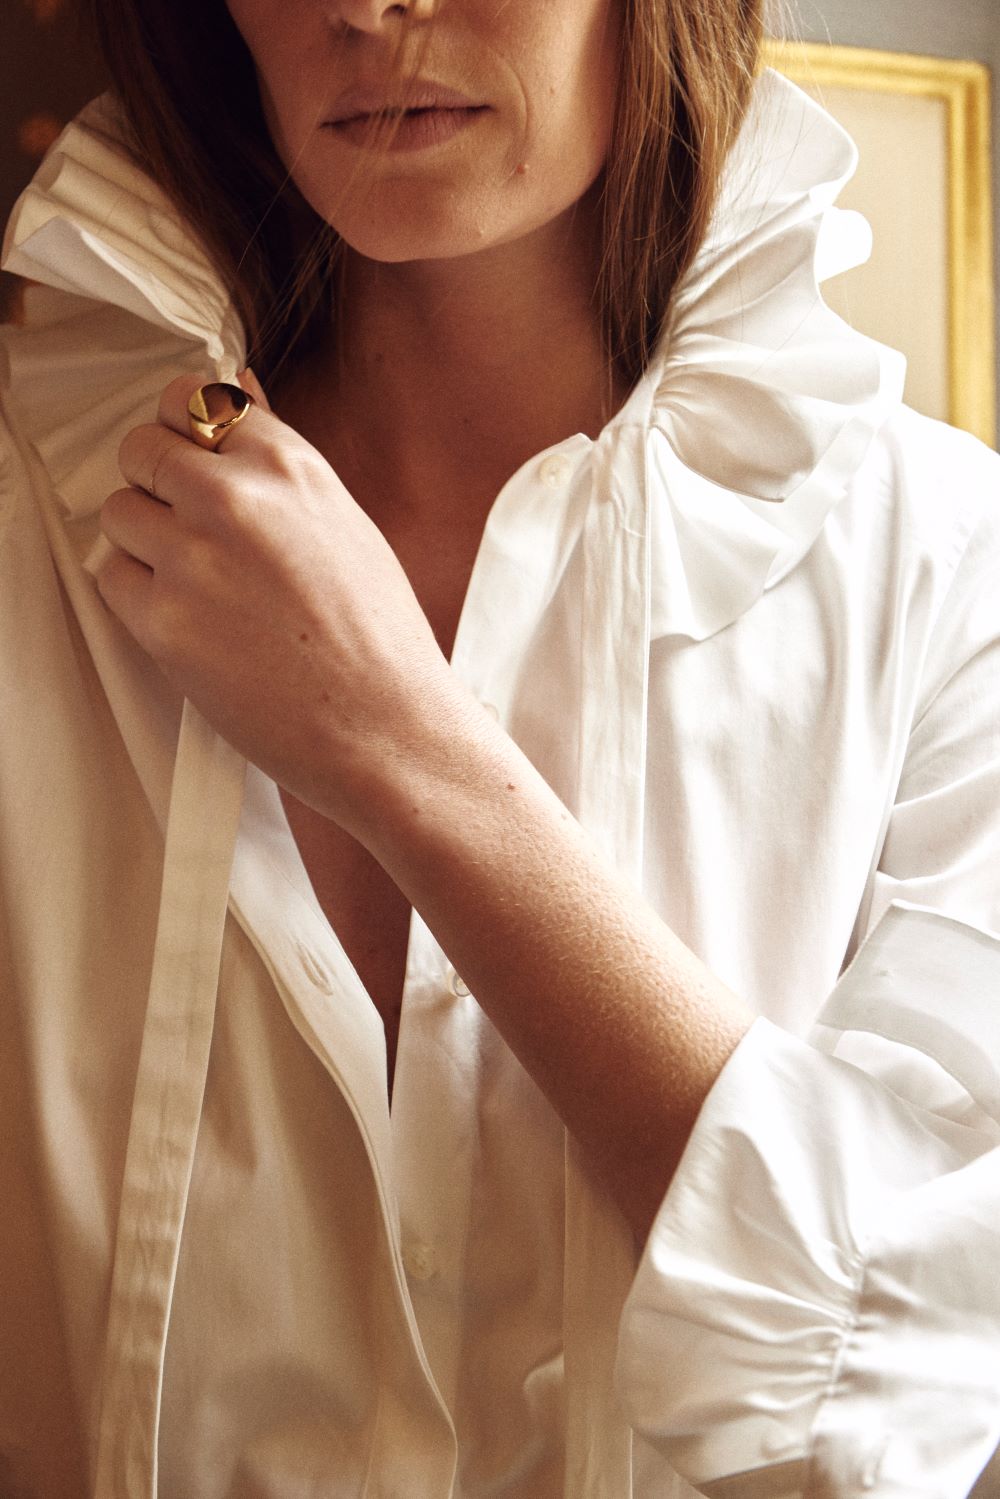
To look good, the Bourrienne Paris X white shirt must be well ironed. At first sight not very glamorous and tedious, ironing a shirt can turn out to be a very relaxing activity with the right equipment and once you have got the hang of it. Bourrienne Paris X gives you her tips for ironing a simple and effective shirt.
Prelude: Gather the materials needed to iron a shirt
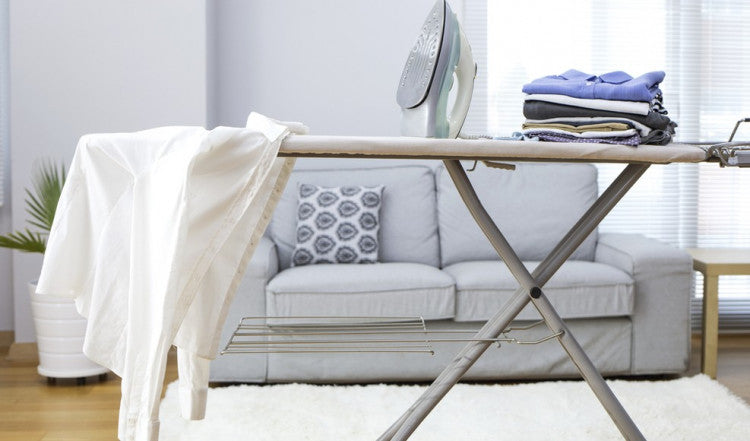
Bring your ironing board or table and, if necessary, an ironing board. But what is a brownie will you say? It will become your most faithful support during your ironing sessions. An ironing sleeve is a mini ironing board for ironing the sleeves, collar and back yoke of your shirts with precision. Finally, comes the blow of iron. The choice of iron is very important to optimize your ironing and especially to preserve your clothes. For ironing shirts, we recommend that you opt for a steam generator. We use two high-performance steam generators from the Braun brand in the shop:
- the CareStyle 5 steam generator: https://www.braunhousehold.com/fr-fr/produits/ironing/steam-plant/carestyle-5
- the CareStyle 7 steam generator: https://www.braunhousehold.com/fr-fr/produits/ironing/steam-plant/carestyle-7
There are many advantages to choosing a steam generator rather than a “traditional” iron. On the one hand, the water tank of the steam generator is external to the iron and is more voluminous. This lightens the weight of the iron alone and allows you to iron longer, without worrying about constantly refilling the tank. On the other hand, the steam output of the central is much greater than that of a lambda iron, which considerably improves the efficiency of ironing.
Prefer demineralized water to fill the tank of your steam generator. This will prevent it from getting clogged with limestone, which will help the iron glide better on the shirt, without leaving marks.
Act 1: Prepare your shirt before ironing
While the iron heats up, remember to unbutton your previously washed shirt, including at the wrists.
Check that the collar stays have been removed from the collar.
Make sure that no stain remains to prevent it from becoming embedded in the fiber under the effect of heat.
While you can iron a shirt very well once it is completely dry, ironing it while it is still slightly damp can make your shirt easier to de-wrinkle.
Act 2: Iron the cuffs, sleeves of his shirt
With the brownie:
For this phase, grab the brownie.
Lay the unbuttoned wrist flat and run the iron over it. Once the cuff is ironed, button it again for the next step. For French cuffs, take care to fully unfold the cuff to iron it.
Slip the sleeve of the previously ironed wrist over the sleeve until you get a flat surface. You can start ironing a shirt by rotating the sleeve as you go around the sleeve. If the sleeve is gathered at the wrist, be careful not to iron too much to maintain their volume.
Once your sleeve is complete, repeat these actions on the opposite wrist and sleeve.
Without the sleeve:
If you don't have a brownie, don't panic. All you have to do is lay the sleeve of your shirt flat on the ironing board. With a wave of your hand, flatten the sleeve to remove creases that may leave marks when ironing.
Iron each side of the sleeve before laying the wrist flat on the table and ironing it in turn
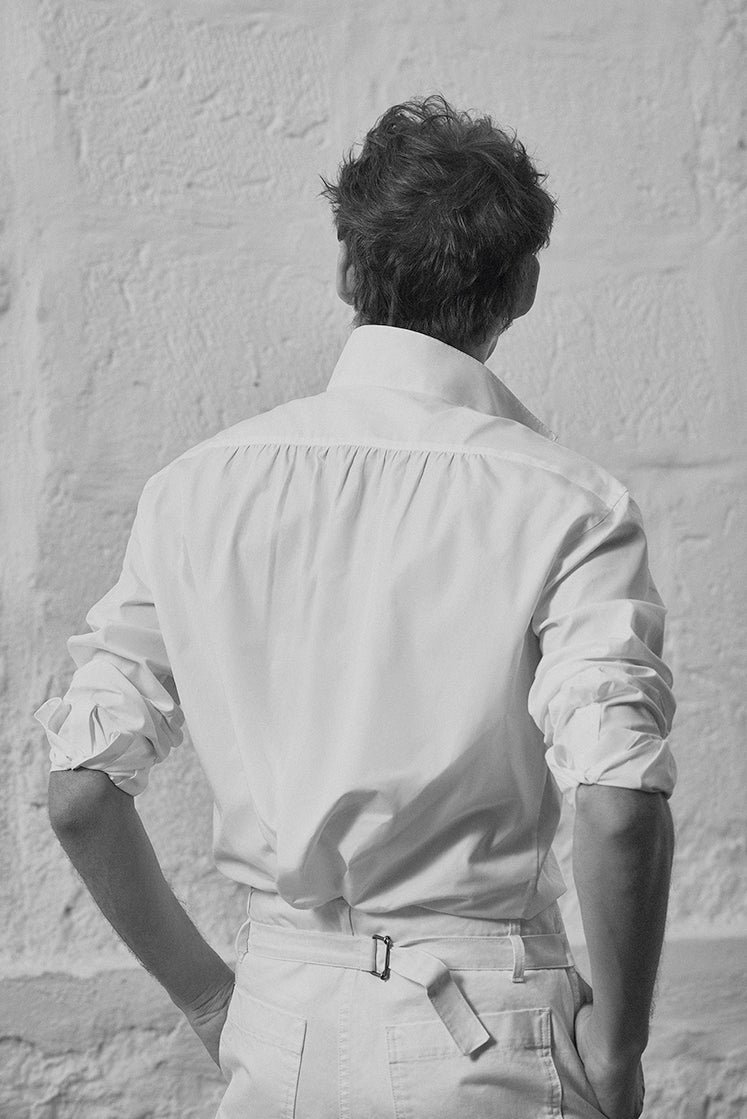
Act 4: Iron the body of his shirt
Lay the right side of your shirt flat on the board. Starting from the top, gradually go back down, avoiding the buttons with small circular movements.
Rotate your shirt as you go around the ironing board, taking care to keep your shirt flat.
Iron the back and finally the other side.
Final act: Put away your shirt and congratulate yourself
You've finally gotten to the end of this easy ironing job and your shirt is spotless. You can put your shirt on a hanger or fold it, following our advice, to store it.
.